
Master Bath Reno Part 1
- Heidi Crowder
- Jun 11, 2023
- 2 min read
Two years ago we found a leak in the shower area. A homeowners worst nightmare. If you don't know my husband yet you will soon find out, he is my Chip Gaines. He can fix almost anything and if he can't he will figure out how. It is quite nice to have a handy hubby but we didn't understand now looking back what a huge project this was. During this process I was pregnant with our 2nd boy and using the guest shower which wasn't bad at first until this project took over a year to finish, because well life. He works full time, being dad and just living life with young kids. The end result has been amazing and we truly are so glad we updated this very dated master bath. It was closed in and dark and didn't function properly. We brightened it up and made sure to open up the space by breaking down the walls that made it a "cave".
Here is how it went down. Part 1...
Walls:
Tore down the shower walls because you could not enter the middle, you could only enter through the shower to the other side.
Toilets:
There were 2 toilets.. very odd in a bathroom. So to open up the space we took one out to open up the walls and pushed up the makeup vanity to the back wall so we can walk through the space.

Doorway:
Mirrored the doorways so they both had the same design with the squared off doorway and added molding.
Before:


After

Tile Floor:
Ripped out the flooring from brown to grey large tiles with light grey grout from The Tile Shop- Fronda Marengo 20x60cm.
Mirror:
Ripped out the large mirrors to 3 swivel chrome horizontal mirrors from Home Depot.

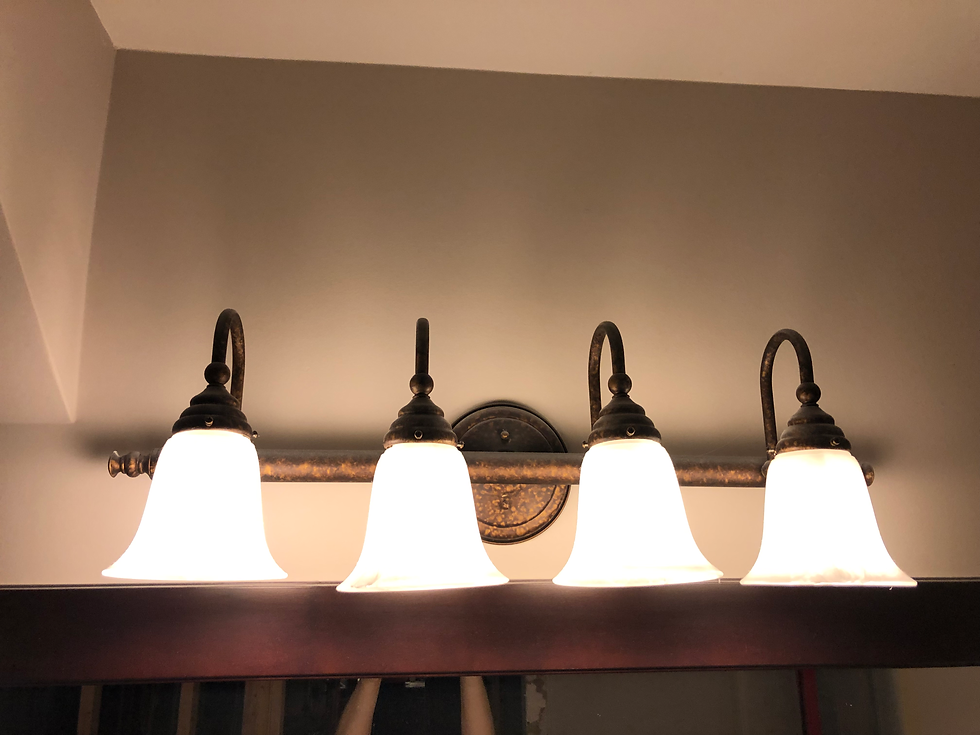
Lighting:
Added sconce lighting and can lights for additional lighting. Added a light fan for the bathtub and shower. Added a crystal chrome chandelier above the makeup vanity area.
Before
After

Tub:
We took out the dated jets tub and added a new soaking tub. This was not an easy project. When we purchased it we didn't realize that NO ONE would deliver it upstairs being that it was 600 pounds. Having a master upstairs made for a difficult situation. The liability of taking it up the curved staircase was very frustrating. So my hubby rented a sizzor lift and brought it up through our master window. Tada my dreams came true! And here are some pictures for your enjoyment.


Before:

After:

Cabinets:
We kept our same cabinets and just had them professionally painted. Painting everything with a clean and cool color definitely brightened up this space! Then changed out the hardware to a chrome pull from Wayfair and crystal knobs I found from Home Goods.
Paint and Trim:
Stone eagle - Sherwin Williams paint for the top of the bathroom. The bottom half was in board and batten in a white trim paint. We also added new crown molding and baseboards in white.
Before

During

After

Overall we are so happy now looking back on 2 years of having an updated and glamorous mast bath! Check out Part 2 to see how we updated the shower!


Comments